
In this tutorial, I’ll show you how to not only use Atlassian’s Confluence gallery macro, but also a few neat ways to implement the macro into your organisation.
So first up, what is the gallery macro?
The gallery macro is a superior way to control how images are displayed on your Confluence page.
Have you ever just pasted a whole stack of images straight into the page and then tried your best to align them? Sure you have, we all have!
However, it just becomes an unruly mess and there is a better way to manage that.
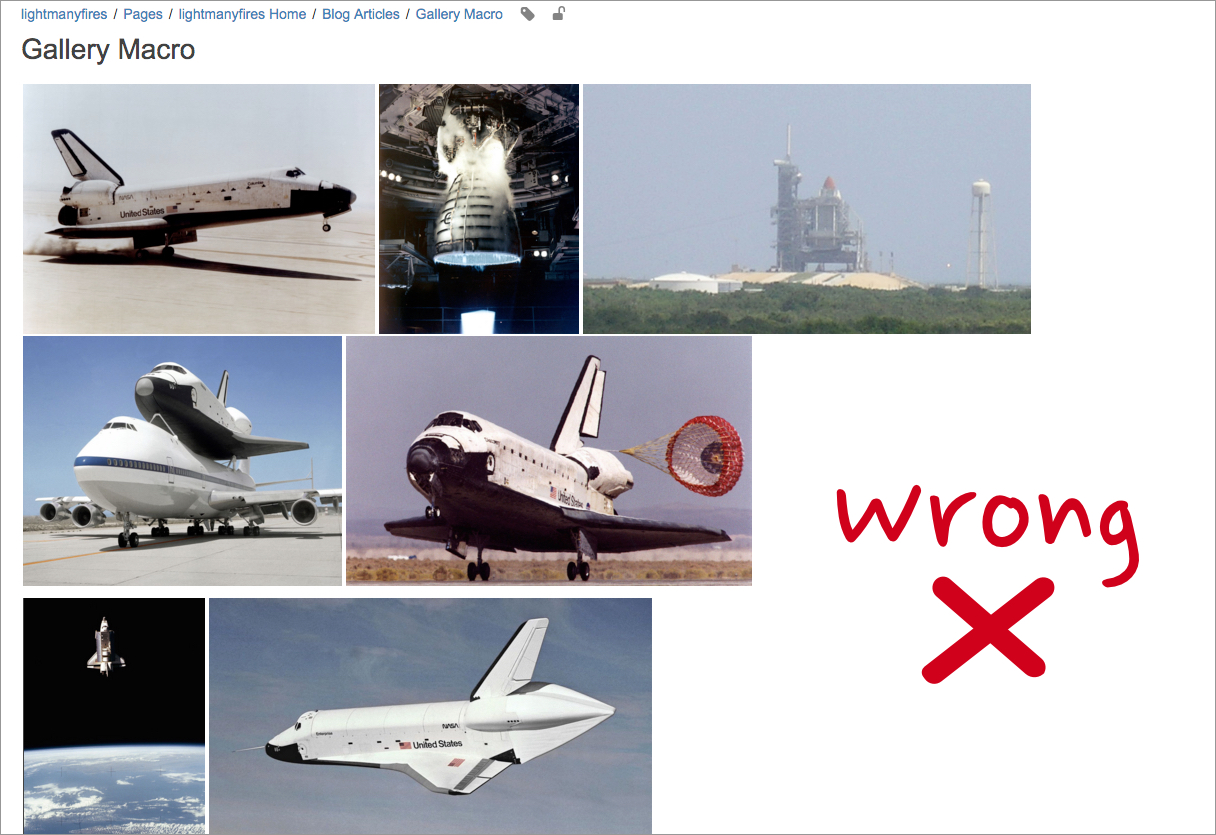
This usage not necessarily wrong 🙂 There is just a better way!
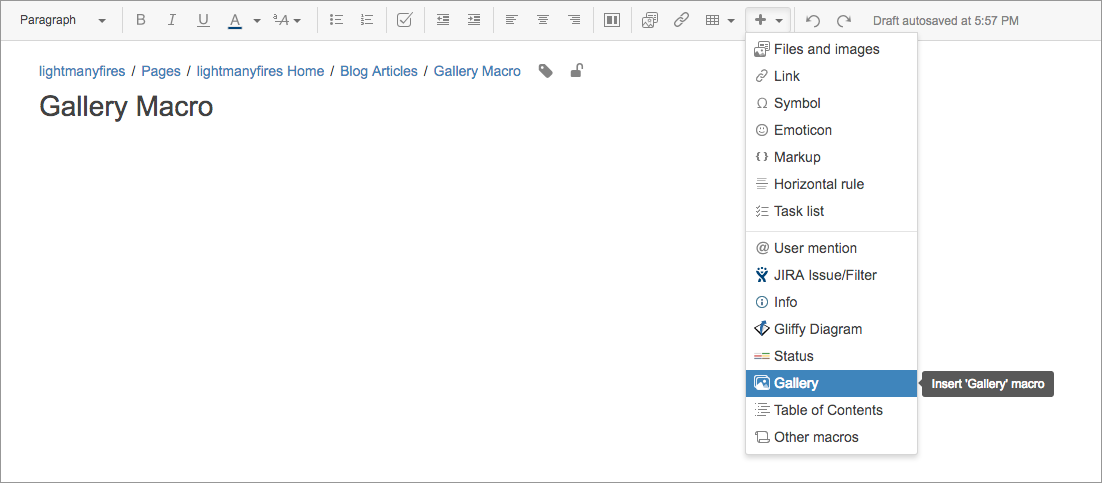
In the image below, I have gone back into edit mode, selected all the images and deleted them. This won’t delete them from the actual confluence page. They’ll still be attached, just not shown on the frontend.
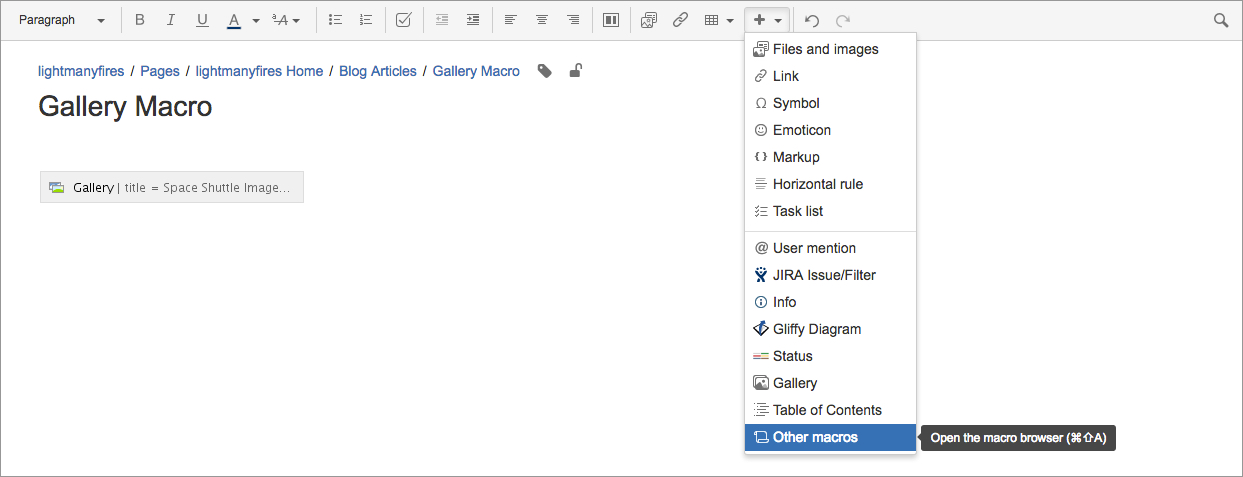
From the macro dropdown, select “gallery”.
Once you have selected the gallery macro, you will be prompted with the following modal window.
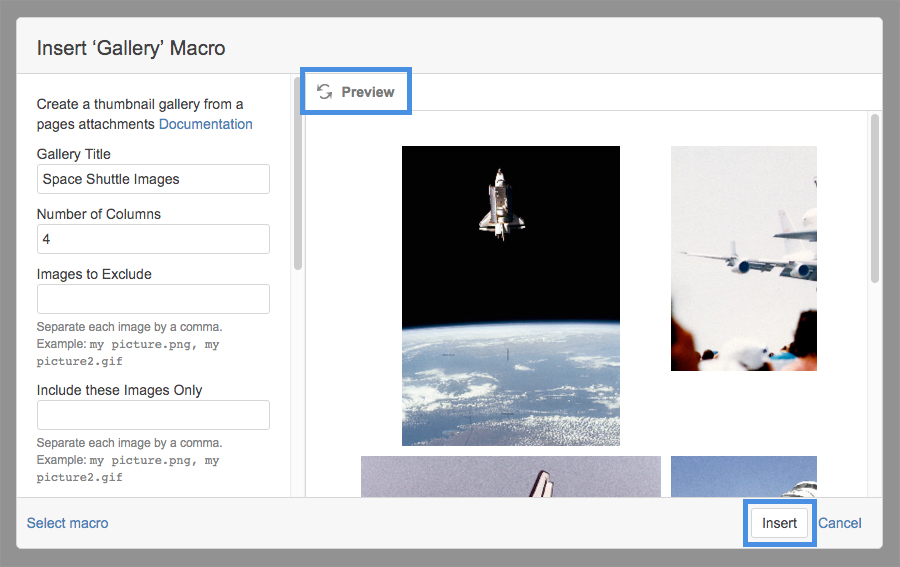
On the left-hand side, you will be presented with numerous options on how you can filter the resulting images. You will be able to:
- Give the gallery a title
- Specify the number of columns you’d like to display
- Whether you’d like to exclude any image file types based on file extension.
- What images you wish to include based on file name. This can be helpful if you have numerous images attached to a page. However, you only want to display a small number of them.
- Include or exclude images based on labels
- Plus many more options, I encourage you to explore them all.
Note: If you don’t adjust any of the filters, the macro will display all images that are currently attached to the page.
At any stage you wish to see how the filters are affecting your presentation layout, use the “Preview” button to preview the results.
Once you’re happy with your filtering options, click “Insert”.
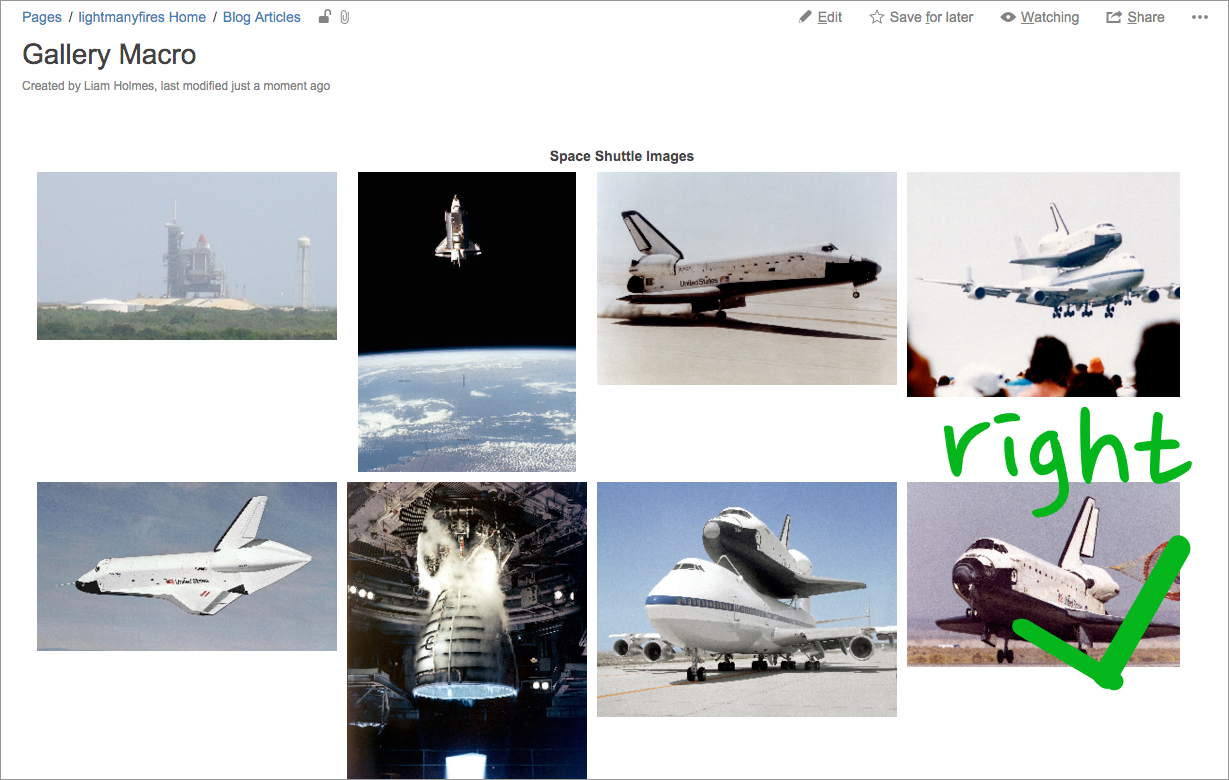
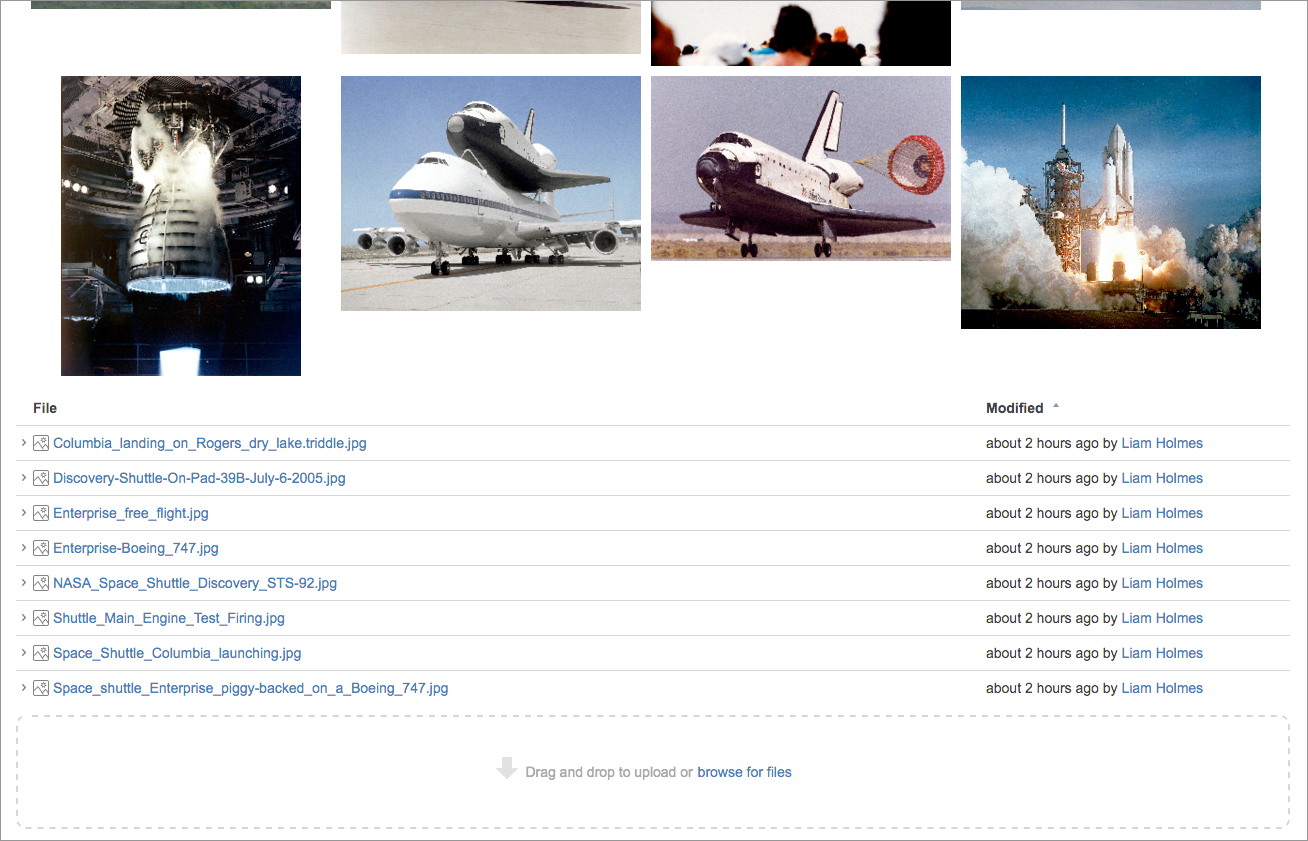
You’ll now have the images displayed in an organised grid, according to the filtering logic of your choice.
Where I have used this in the past, is to take the logos of a business/agency that I was working in, then attach them to a confluence page. Using the gallery macro I displayed those logos in a neat and organised fashion.
When a staff member needed a given logo, rather than scrambling through folders on shared drives, they simply navigated to the logo’s confluence page, picked the logo they wanted to use, clicked on the image and then downloaded it.
Pro Tip:
If you want to take this one step further, I recommend adding the “attachments” macro below the gallery macro. Follow along and you’ll see why!
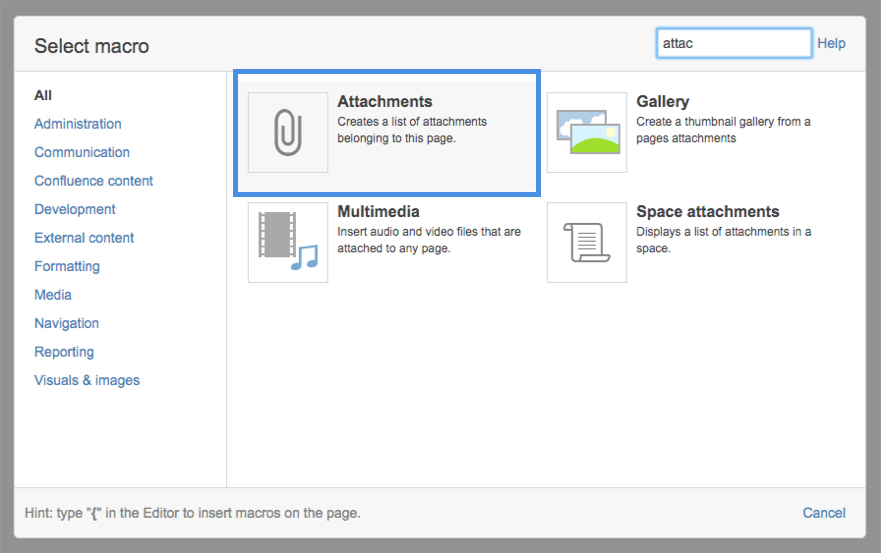
How do you get the “attachments” macro?
Make sure you’re in edit mode, then use the macro dropdown and navigate to “Other Macros”.
You will be presented with a modal screen of all possible macros.
From the search field in the top right-hand corner, search on “attachment” and you’ll see the respective macro in the results.
After selecting the “attachments” macro and inserting it into the page.
Make sure that the attachments macro is sitting below the gallery macro, as seen below.
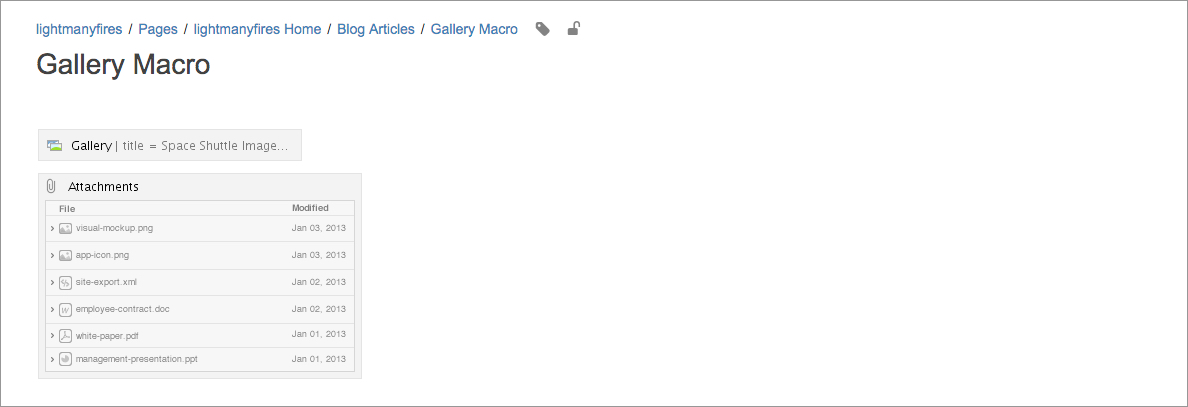
Once you have saved your page, you’ll have a layout that shows what files are attached to the page, with a “Preview” view via the gallery layout above.
Going back to the business logo’s example. I have used this gallery/attachment macro configuration to not only add the logos to the page, but I would also include the respective Photoshop, Illustrator and Sketch files. I would then use the gallery macro to display the output of each of the design files. That way, anyone trying to get their hands on the master design files can easily see what logos are attached to the page, then download the respective master file.
I hope that gives you a few ideas on how you can use the gallery macro in your organisation. Have you seen this macro used in interesting ways? Please leave your thoughts in the comments below.
Liam