
I recently bought an Amazon Echo and so far I have been super impressed with the device. One thing I was interested in exploring was using Alexa to capture tasks. My Girlfriend and I use a shared Trello board to manage our mutual tasks such as the paying of bills, booking of concert tickets and holidays etc… I thought it would be great if we could use the Echo to capture tasks via voice and have the cards automatically added to our shared Trello board. This post illustrates step by step how to do just that.
The way this process works is by using a service called “If this then that” if you’re not aware of the service, it’s basically an application that allows you to connect various services together to created automated workflows. IFTTT works on a trigger/action paradigm. You specify a trigger, in this case, we’ll ask Alexa to remind us of XYZ task and then an action will take place. In our situation, we’ll automatically create a new Trello card which will be added to a specified Trello board in a specified list.
In this post, we’ll be configuring the workflow from the desktop experience of both IFTTT and Trello. However, there is no reason why you couldn’t set this up from your phone.
1. Log into your IFTTT account
If you don’t already have an IFTTT account, go create one, it’s free to sign up.
2. Create a new applet
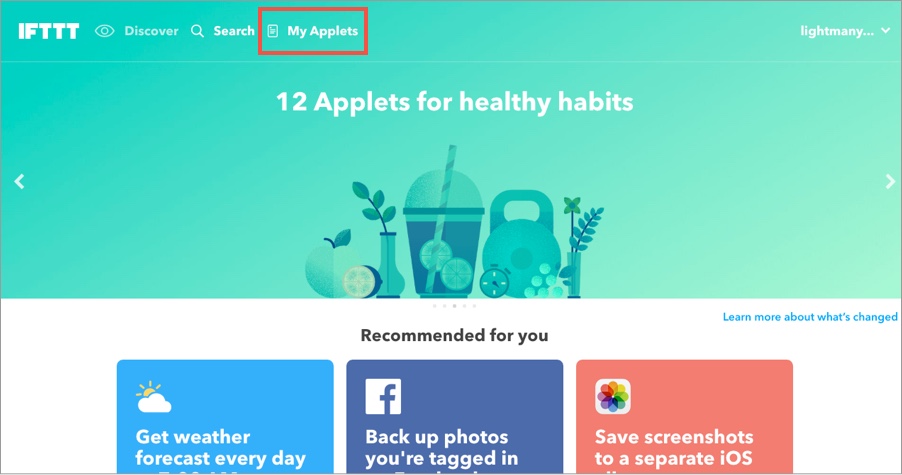
Once you’re logged into your account select “My Applets”
If you’re new to IFTTT, an Applet is a workflow that you’d like to create by connecting two services. In this case, we’re creating an Applet specifically to handle the process of creating new Trello cards from our voice commands to Alexa.
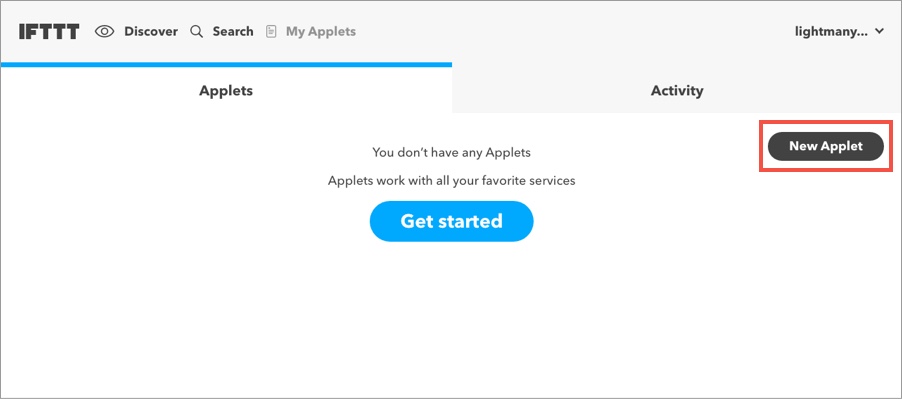
As shown in the image below, select “New Applet”
3. Set Amazon Echo as the trigger
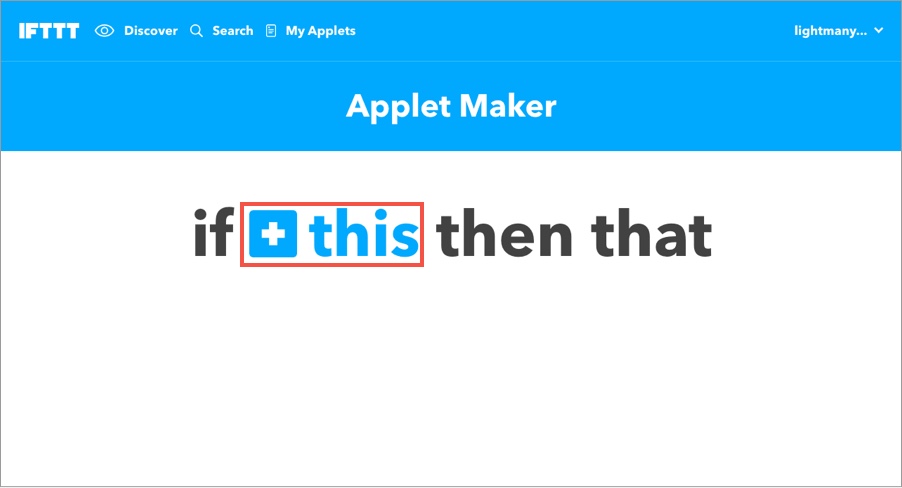
You’ll now want to set the trigger for the workflow. Click “this” as highlighted in the image below.
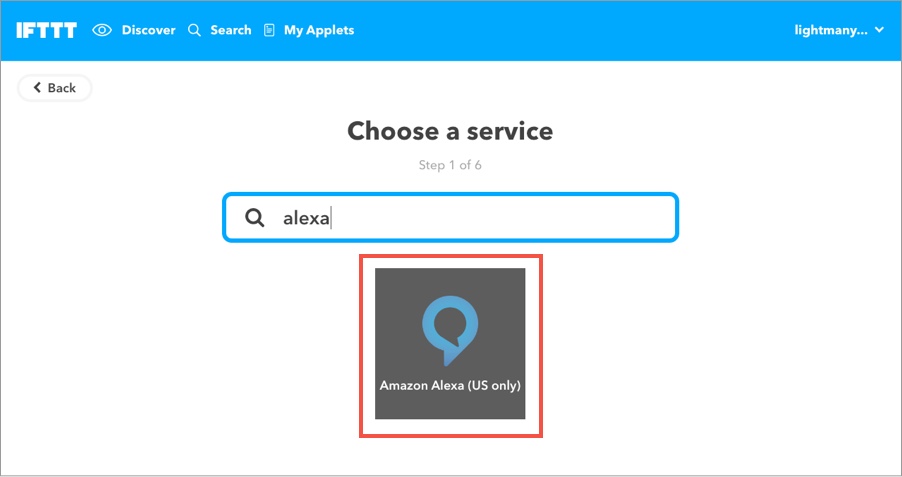
Next, you’ll be presented with a list of possible services. Search for “Alexa”.
At the time of writing of this post, IFTTT states that “IFTTT is currently only supported on US Alexa devices” I live and bought my device in the UK and it works fine with Alexa. Once you see the Amazon Alexa service select it.
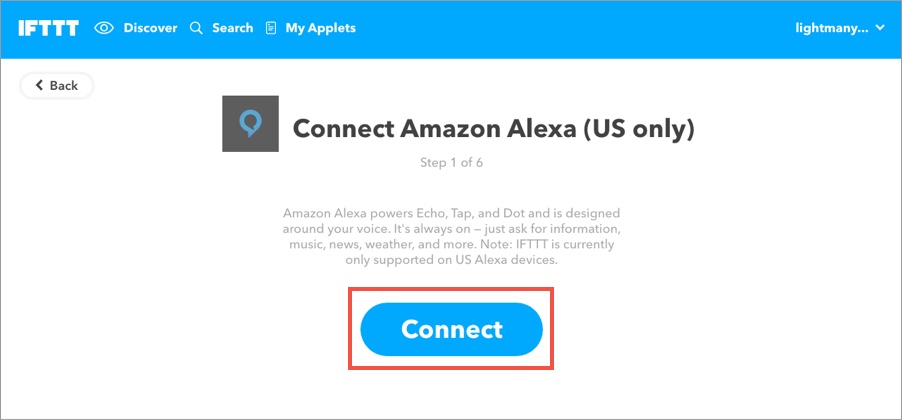
Next, you’ll be presented with a screen to connect to Amazon. Click “Connect”
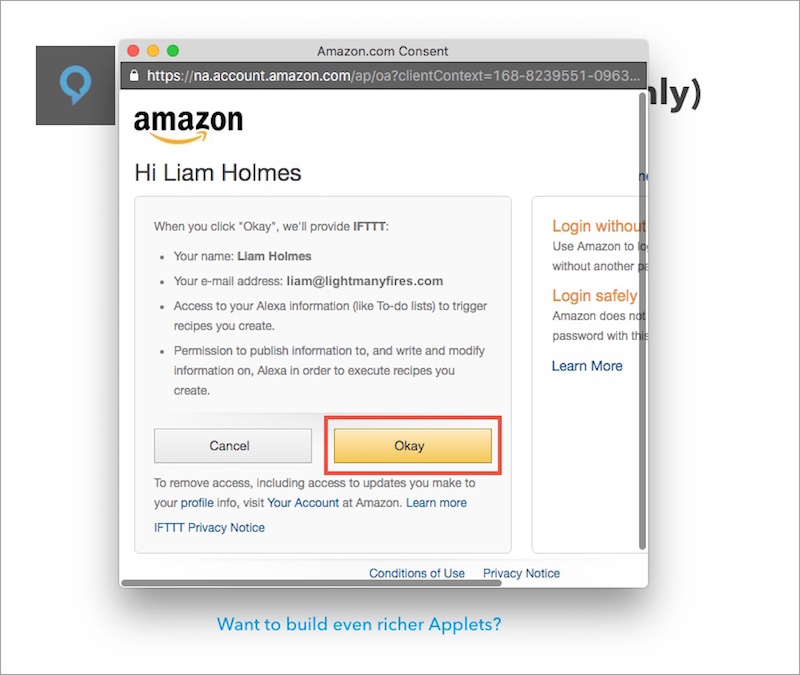
4. Grant permissions to IFTTT to access your Amazon account
Next, you’ll be presented with a screen to log into your Amazon account. Once you have done so, you’ll see a screen similar to the one shown below asking you to agree to the permissions IFTTT will need to execute the workflow. If you’re happy to proceed select “Okay”
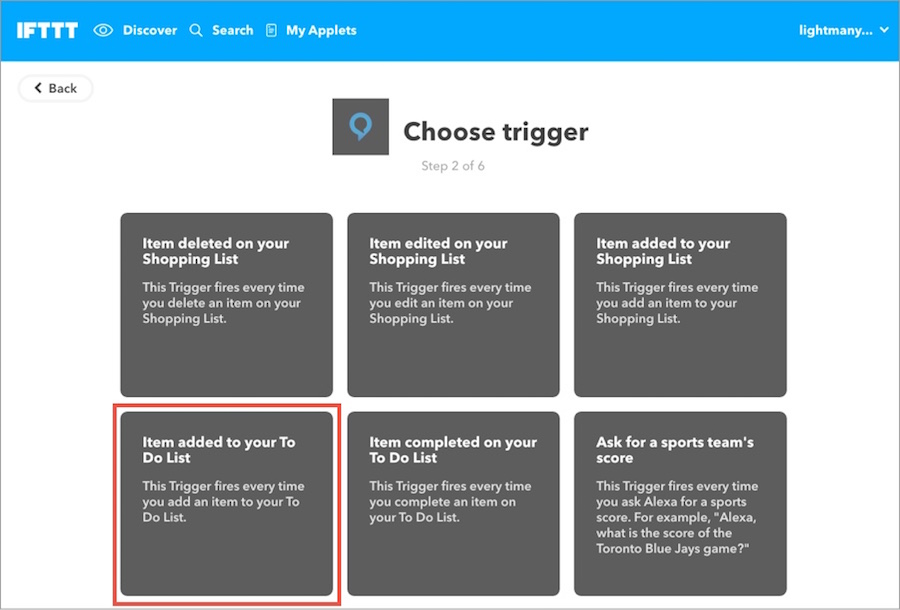
5. Configure the trigger
Now you’ll need to select the trigger for the workflow. In this case, we want the trigger to be whenever something gets added to the Alexa To Do List. From the list of trigger, select “Item added to your To Do List”
6. Configure the action
With the trigger now configured, you’ll need to set up the action. Select “That” as shown in the image below.
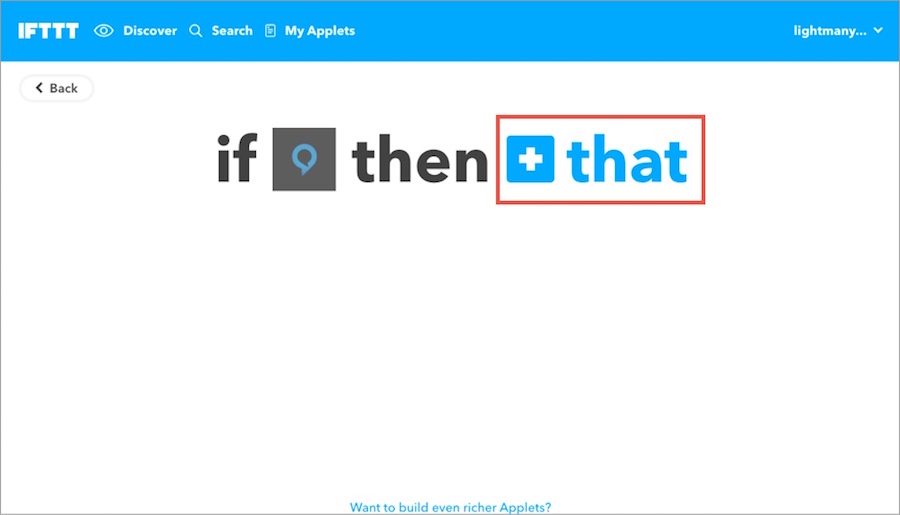
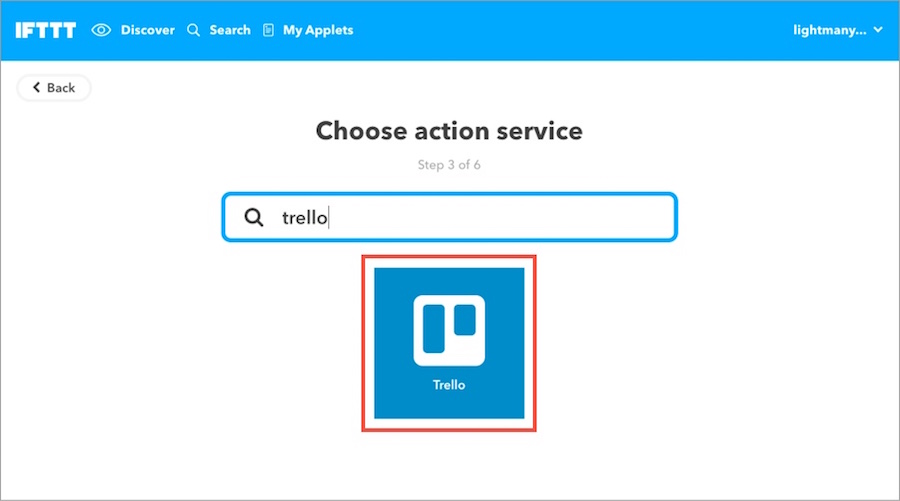
Next, you’ll be shown a list of services. Search for “Trello” and select it.
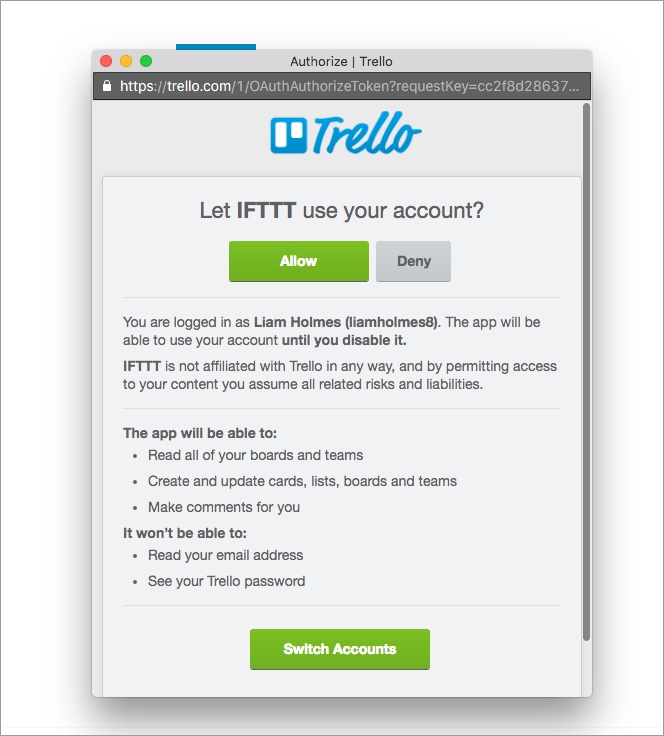
7. Grant permissions to IFTTT to access your Trello account
Next, you’ll be prompted to give permissions to IFTTT to access your Trello account. If you’re happy to do so, click “Allow”.
8. Choose the action
Now that you have connected Trello and IFTTT, you’ll want to set the action you wish to take place once the trigger has been activated.
In this case, you’ll want to create a card, select that option.

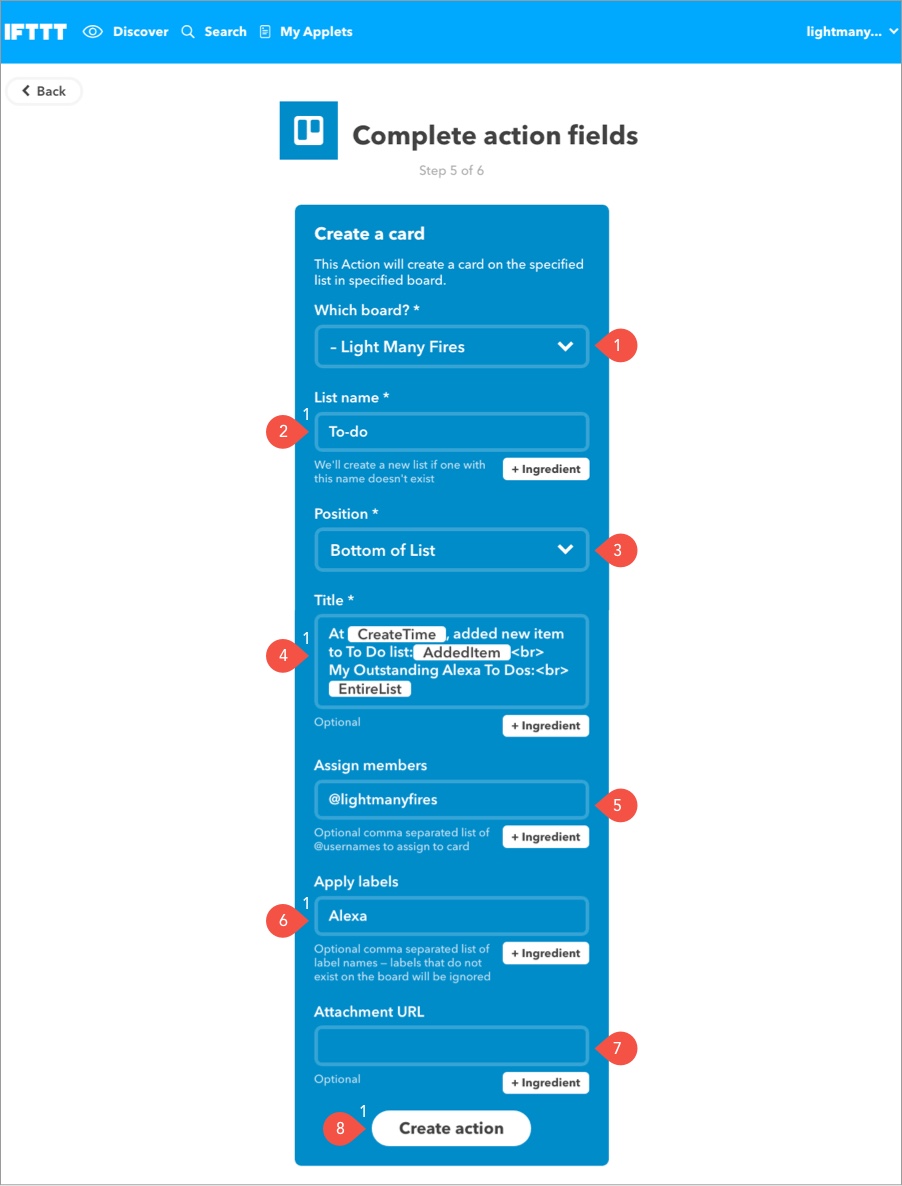
Next, you’ll need to configure the card. Namely, what board you want the card added to and what attributes on the card will be pre-populated.
The list and image below outlines what options you have available.
- Choose what board you’d like the card to be added to.
- What list on the board you’d like the card to be added to.
- Whether you’d like the newly created card to be placed at the top or bottom of the list.
- Define the structure of the title of the card. By clicking on “Ingredients” you can insert pre-defined variables such as “CreateTime.
- Assign other Trello users to the card such as team members.
- Apply any labels to the card. For example, you may want to have the label “Alexa” automatically added so you can see all the cards created via this workflow.
- You may wish to attach a default attachment to all cards created via this workflow. To do this, you’ll need to have that attachment accessible via a URL which you’d paste into the respective input.
- Once you’re done with the points above, hit “Create action”.
9. Test, Tweak, Repeat.
Now the fun part, testing! In order to test the workflow, you’ll need to give the Echo the following command “Alexa, remind me to XYZ”
Where XYZ, is the task you want to capture such as “buy concert tickets”
Make sure that the cards are being created on your Trello board and that the fields are being populated as required. If not, simply go back tweak and repeat until you have the configuration you’re after.
As always, I hope you found this post useful. If you have any friends or colleagues that would also enjoy this article, please share it with them!
If you have any questions or comments, please leave them in the comments section below. I’ll get back to you as soon as I can.
Liam