In this quick tutorial, I’ll show you how to get up and running with a fresh WordPress install on the hosting provider Digital Ocean.
This is this exact process I used to get LightManyFires.com live.
- First up you need to create an account on Digital Ocean.
https://www.digitalocean.com/ - Once you have set up an account and are logged in, click on the “Create Droplet” button.

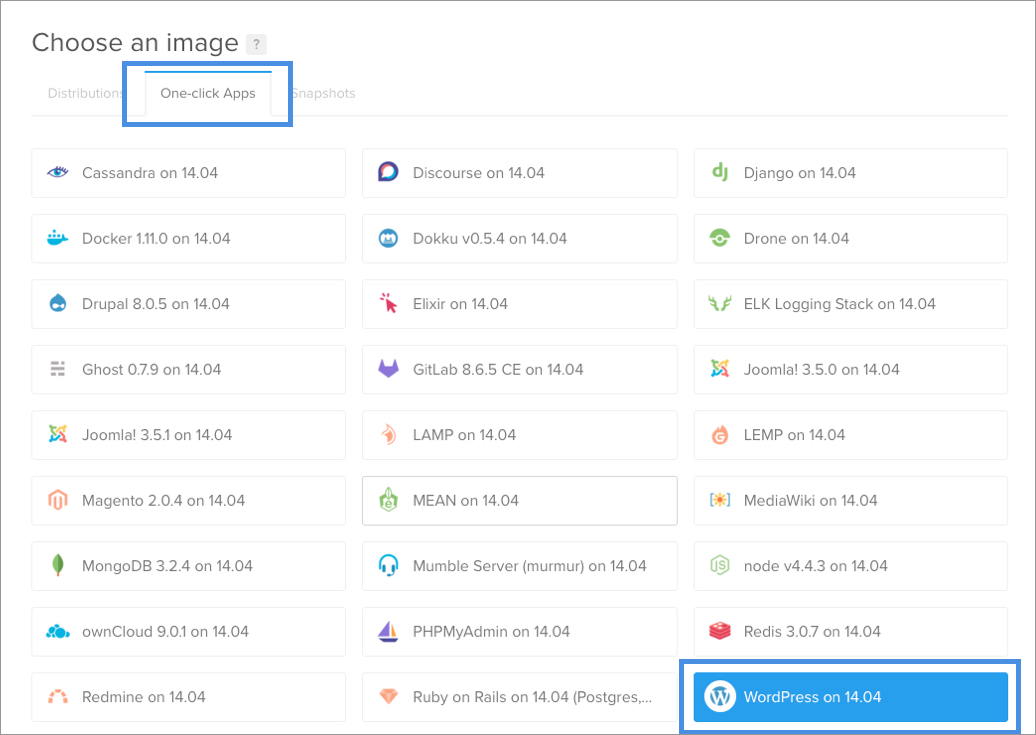
- Click on the second tab “One-click Apps” then choose the WordPress option. Note that the version maybe different from that shown in the image below.
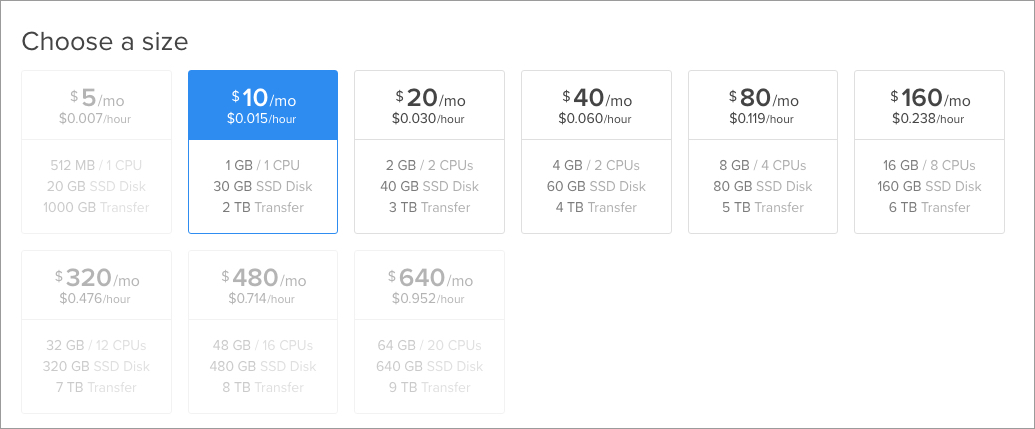
- Choose the size of your droplet. You can always resize your droplet at a later date if your usage requirements change.
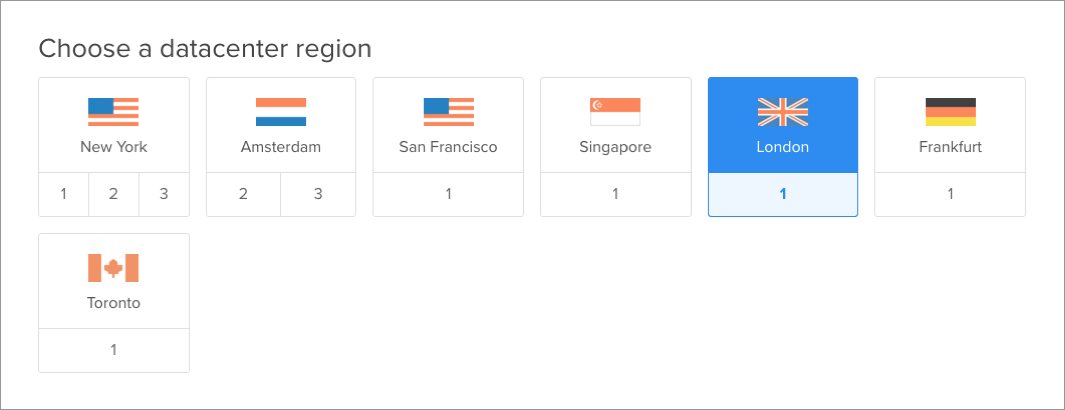
- Choose the location of your data center. Have a think about what geographic location you expect most of your traffic to come from, then pick a data center closest to that location.
- Choose whether you’d like to enable backups. For the small additional cost, I thought it was worth the money.

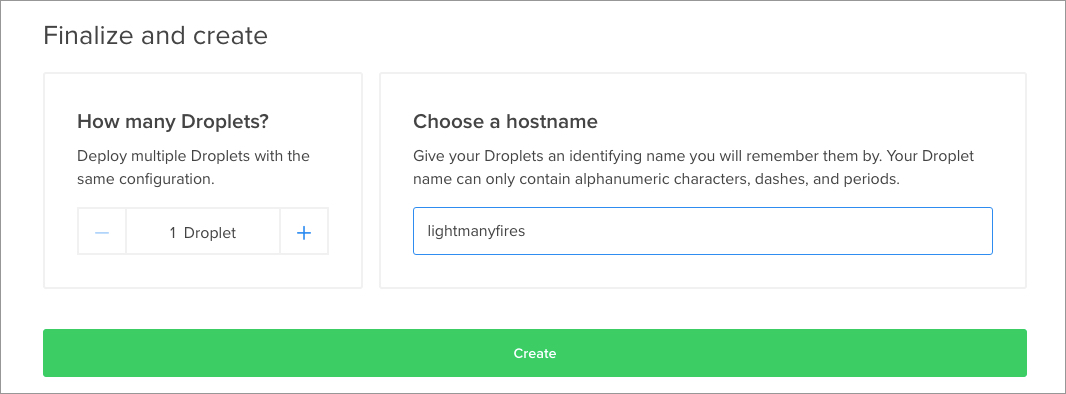
- Give your droplet a name and click “Create”.
You will now recieve an email from Digital Ocean containing your password to SSH into your installation. - From the header click “Droplet” and you’ll see your newly created droplet with WordPress installed.
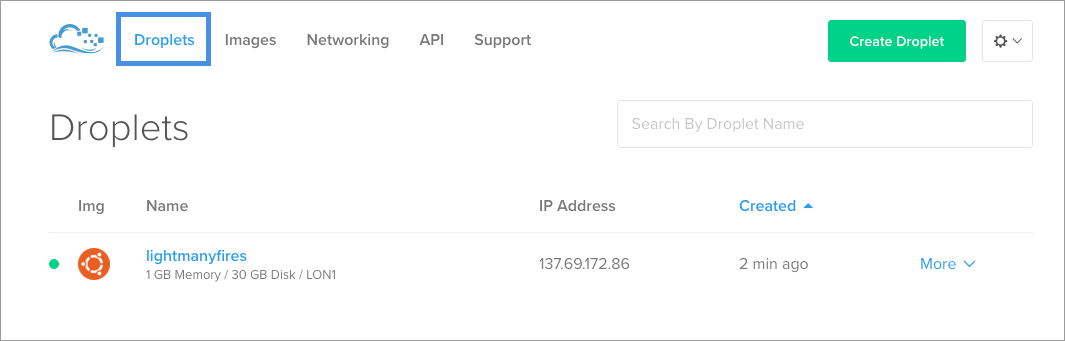
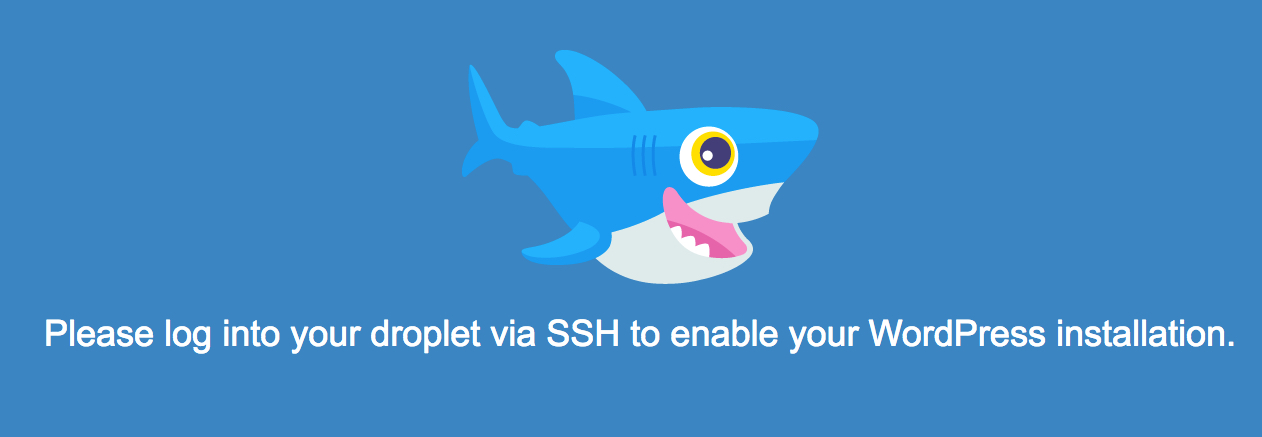
- From the dashboard, copy the IP address and paste in your broswer navigation input. You should see a page with a message from Digital Ocean to SSH into your WordPress installation.
- Next, assuming you’re on a Mac open Terminal and ssh into your WordPress installation. Use the command below, however, make sure you swap out the IP address with the IP address of your droplet.
ssh root@137.69.172.86
You will then be prompted to add your password. This is the password that was sent to you via email when you created the droplet in point 7.
Note: when you add your password, no characters will be shown, make sure you paste it in or type it correctly into the terminal prompt.
Once you have added your current password you will be prompted to add a new password.

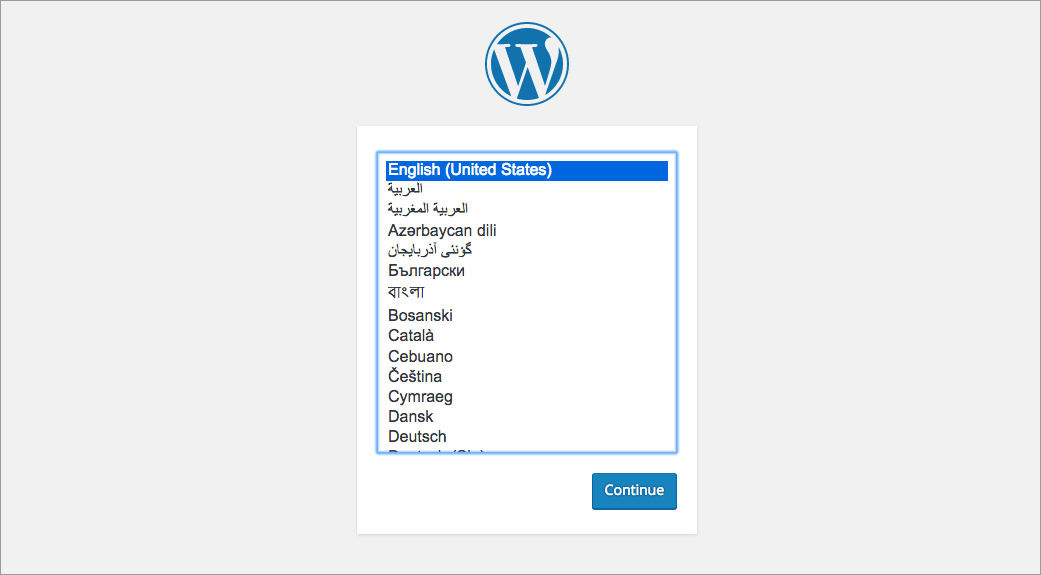
- Navigate back to the IP of your site in your browser, you will be taken through the WordPress installation process.
First up, choose the desired language for your site.
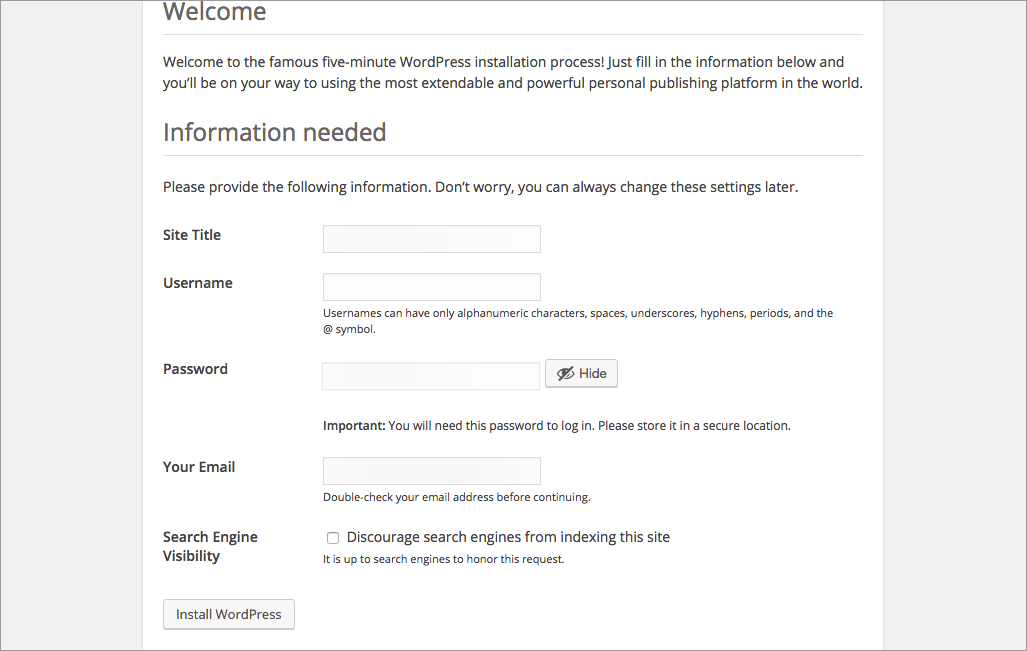
Next, you will be prompted to add your site title and set up your login credentials. Once you have added this information click “Install WordPress”.
- Now navigate back to your droplets IP address in your browser and you should now see your live site with WordPress’s default theme.
In my next post, I’ll show you how to add a custom domain to your site, that way you can have a url such as http://www.mysite.com rather relying on an IP address.